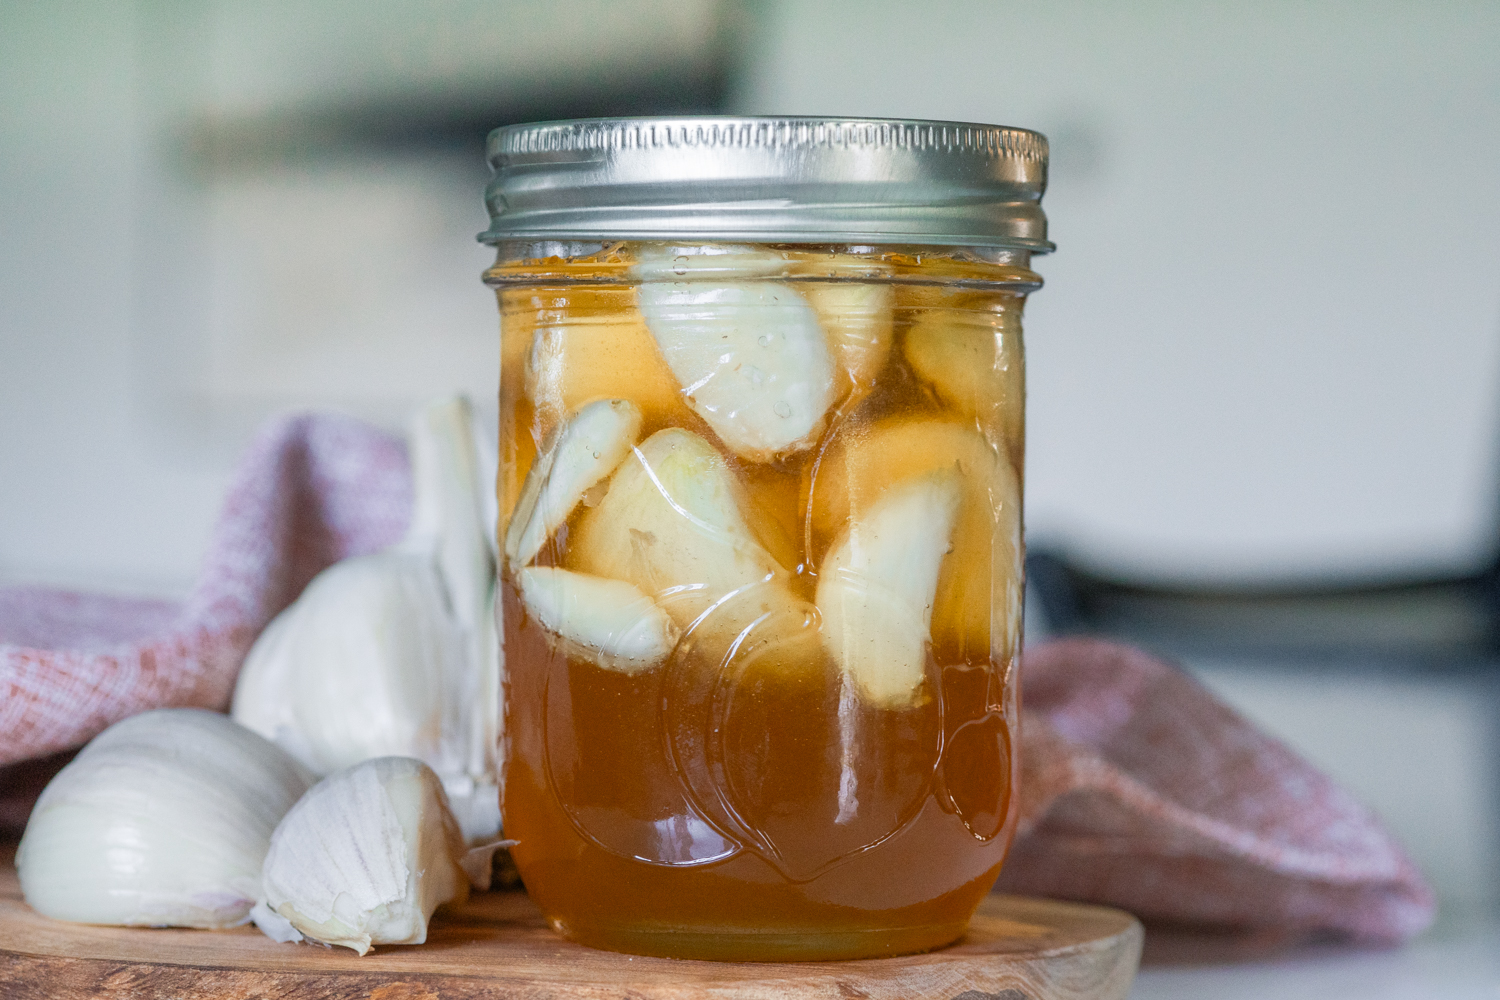
Equipment
- 1 Mason jar
Ingredients
- 1-2 cups whole organic garlic cloves peeled (see note)
- 1-2 cups raw unpasteurized liquid honey (see note)
Instructions
- Prepare the Garlic: Slice the ends off the garlic cloves and slightly crush them with the side of a knife, being careful not to break them open completely. Place the cloves into a sterilized jar, large enough that the garlic cloves fill no more than two-thirds of the jar.
- Add the Honey: Pour the raw, unpasteurized honey over the garlic cloves, ensuring they are completely covered. Ensure there is at least an inch of headroom between the top of the honey and garlic mixture and the top of the jar to allow space for the fermentation process.
- Seal & Store: Seal the jar tightly and store it at room temperature, out of direct sunlight. The honey may begin to foam during the fermentation process, so it’s important to ‘burp’ the jar daily. To do this, simply remove the lid briefly to release the gases and prevent overflow.
- Monitor & Care: During the first few weeks of fermentation, the garlic cloves will likely float to the top of the jar. This is completely normal. To ensure all the cloves remain well-coated, invert the jar daily or use a spoon to gently push the cloves back down into the honey.
- Fermentation Process: After several weeks, you’ll notice the honey becoming more fluid and the garlic cloves darkening in colour. This is a sign that fermentation is progressing well. At this stage, you can discontinue daily ‘burping’ of the jar.
- Storage: Once the fermentation process is complete, store the jar at room temperature in a sealed container, out of direct sunlight. The fermented garlic honey will continue to develop in flavour over time and can be stored for several months.
Notes
- Measurements are based on the size of your jar.
- Be sure to use raw, unpasteurized honey, as it contains the natural enzymes and beneficial bacteria needed for the fermentation process.
- Leave some space in the jar, as some batches of garlic honey can foam up a bit during fermentation, and the extra space helps prevent any overflow.